There are few things on this planet as comforting as a good bowl of mac and cheese.
If you’re anything like us, you’re accustomed to the Blue Box stuff – that fresh powder and dried noodles made for less than stellar fare that nourished us in a way instant food rarely can.
But somewhere between the ages of 14 – 87 mac and cheese loses its captivating allure.
Sure you can go to any number of corporate-financed eateries and get something like “gourmet” mac and cheese.
But corporate chefs in their sterile food labs making a cheese sauce with buzzword ingredients doesn’t always mean gourmet.
To us gourmet is all about the technique and execution – And we’ll show you how.
How To Make Rosin Infused Butter
Let’s start cooking.
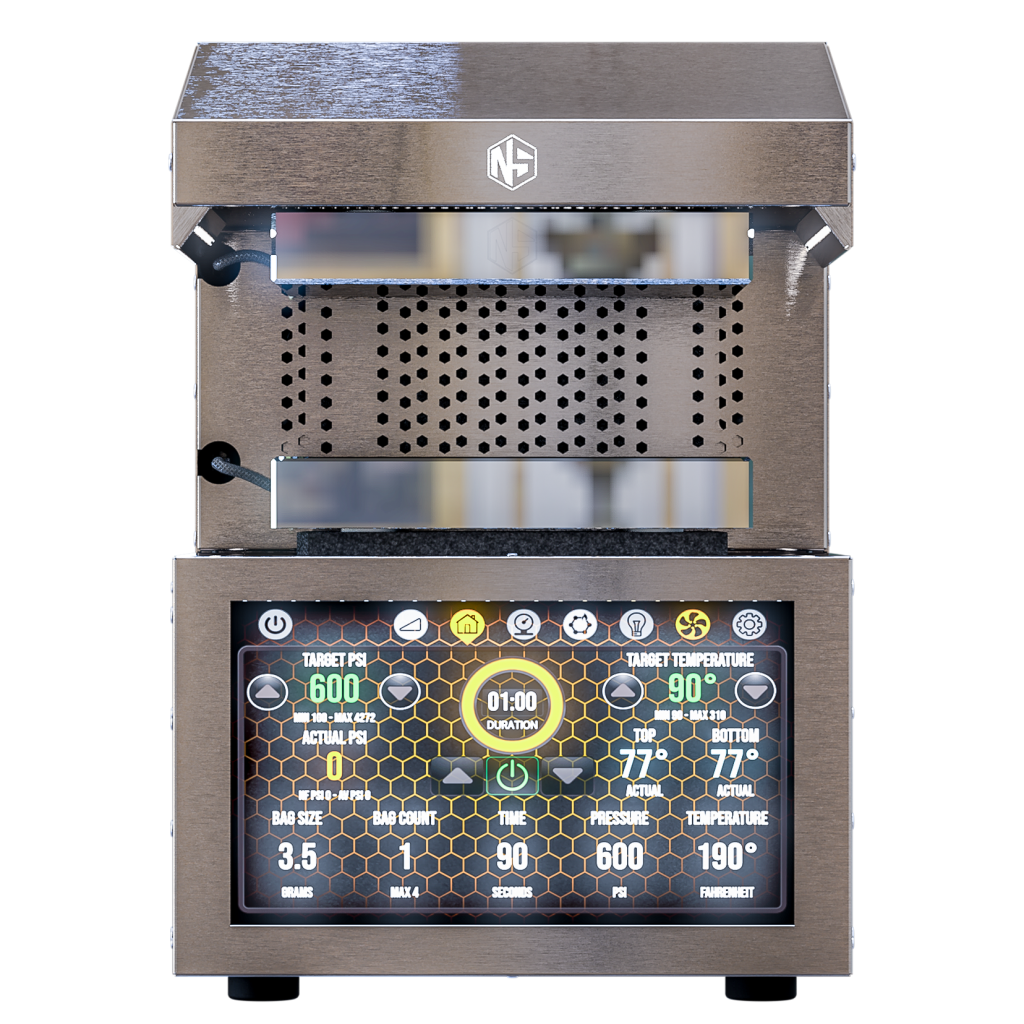
For this particular recipe, we’re infusing the butter. To infuse the butter we’re going to use all NugSmasher products.
Rosin Butter Ingredients
– A whole stick of unsalted butter
– Stainless steel saucepan
– Silicone spatula
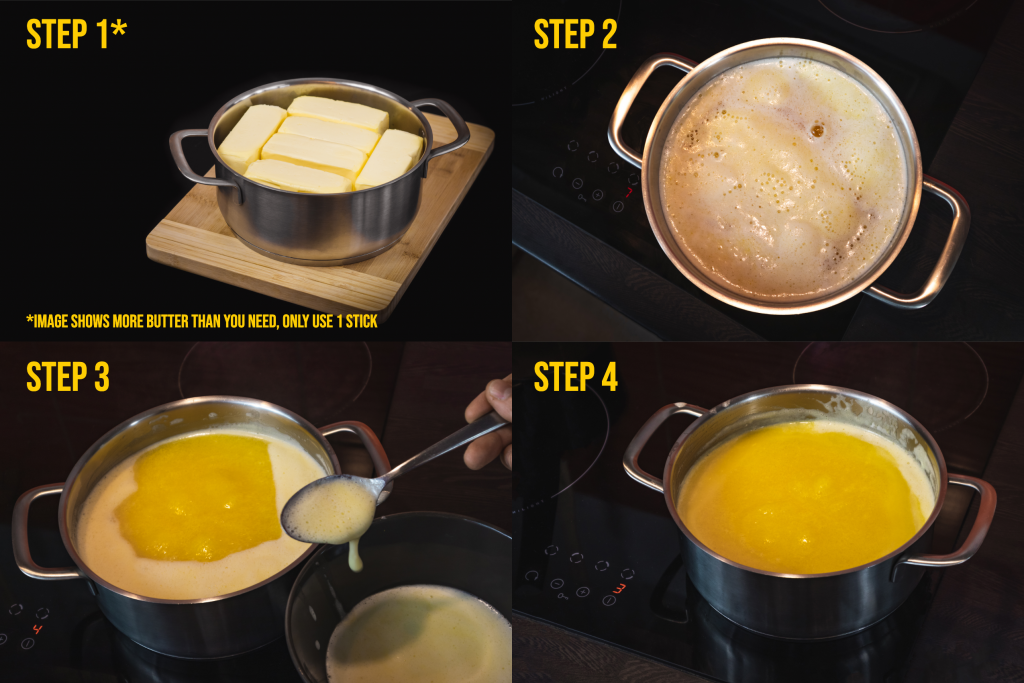
Steps To Rosin Infused Butter
1. Smash flower in NugSmasher® machine. (For a video tutorial visit: NugSmasher® Tutorial)
2. Collect solventless concentrate using a NugSmasher® Dab Tool. (Preferably with the use of a NugSmasher® Collection Plate)
3. Place rosin into NugSmasher® Decarb Capsule and place it back into the machine for infusion activation.
4. Heat up Decarb Capsule at 250 degrees for 25 minutes.
5. Melt a whole stick of butter in a small saucepan over low heat and scrape the foam off.
*PRO TIP: The foam rising from your butter are milk proteins which have separated from the unsaturated fats, if you let those fall to the bottom and strain them out you’ll have clarified butter or ghee.
6. Add the activated rosin and continue to stir over low heat until everything has mixed thoroughly.
DONE.
*Note About Dosages
Having infused a whole stick of butter with rosin you are going to want to weigh it before you start cooking. However much you harvested from your NugSmasher® (an example is 0.86 grams) to know how much decarbed product is in your stick of butter multiply by 1000 (our example yields 860 mg). WARNING these are all approximations please practice utmost care when dosing your infused ingredients.
Full List of Mac N Cheese Ingredients
– 2½ cups whole milk
– 2 bay leaves
– 1 fresh sprig or 1 teaspoon of dried thyme,
– 10 garlic cloves
– 1 pound of noodles (cut noodles like macaroni, penne or elbow)
– 4 tablespoons of infused unsalted butter (always use unsalted butter)
– 4 tablespoons of all-purpose flour
– 1 cup sharp cheddar cheese, grated
– ½ cup creamy Havarti cheese, grated
– ½ cup fresh Parmesan, grated
– Kosher salt
– Cracked black pepper
– 1 cup of panko bread crumbs
All set? Ready let’s go.
Rosin Infused Mac N Cheese Instructions
Step 1:
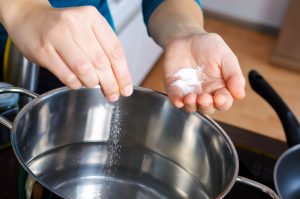
Salt a gallon of water (enough it tastes like the ocean) and set to cook your noodles once it’s at a rolling boil.
Step 2:
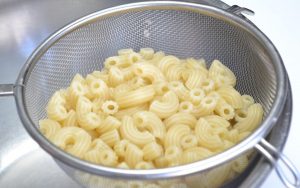
Cook noodles until they are almost soft but still firm when bitten. The noodles will finish cooking once we set it in the oven, don’t worry if they aren’t soft enough yet.
Step 3:
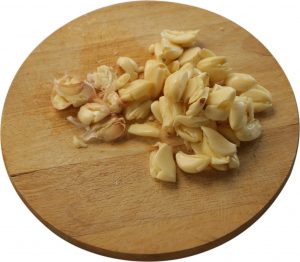
Smash your garlic cloves with the base of a chef’s knife or anything blunt, don’t need to cook or cut them at all, we want the whole smashed cloves.
Step 4:
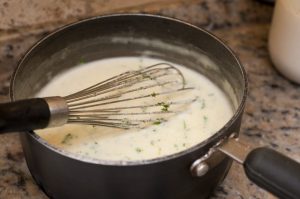
Combine milk, smashed garlic, bay leaves, and thyme in a medium-sized saucepot.
Step 5:
Heat your herbs and milk mixture over low heat until bubbles begin to form on the side. It should take about 4-5 minutes.
*PRO TIP: Infuse your milk for up to 30 minutes for extra herb flavor!
Step 6:
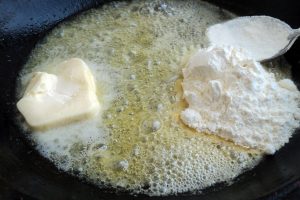
Melt butter in a pan over medium heat until it all begins to foam, add flour and mix using a metal whisk until smooth. Continue cooking for about 3-4 minutes, right before it begins to brown.
*PRO TIP: Sift your flour first to make it easier to mix with the butter.
Step 7:
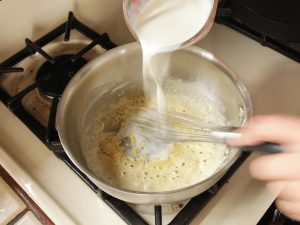
Strain out herbs from milk and pour into the roux, whisking the entire time.
Congratulations! You have made a bechamel (milk) sauce.
Step 8:
Once milk and roux combine and are nice and smooth (no lumps) it’s time to add the cheeses.
Stir until they’re about 90% melted. This is also where you want to start seasoning and adjusting for taste.
Use kosher salt and black pepper to get things right.
*PRO TIP: Corrective seasoning executed near the end of certain recipes like this one where there’s a lot of cooking techniques and sensitive ingredients and it’s why haven’t seasoned anything until now.
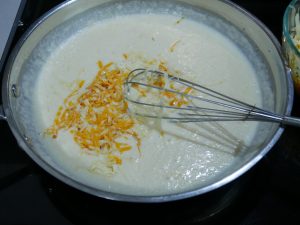
Step 9:
Transfer your cooked noodles to your sauce and combine until saturated with deliciousness. Don’t worry if the sauce is a little thin at this point it’ll thicken up in the oven.
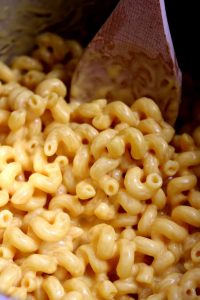
Step 10:
Pour your mac and cheese into your greased casserole dish of choice and top with panko bread crumbs covering with no noodles sticking out.
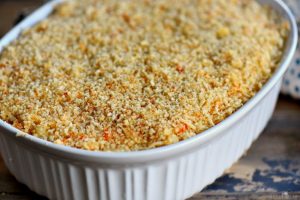
Step 11:
Cook at 400° F for about 15 minutes, until everything on top, is golden brown.
Pull it from the oven and let it rest for about 5 minutes, then cut, serve and enjoy!
*PRO TIP: Garnish with some chopped parsley and dill for some greenage and extra herb flavor.
See? Gourmet doesn’t always mean difficult. It’s all about doing things the right way.
That’s all for your Rosin Infused Mac N Cheese!
*A Few Bonus Tips!
Technique
Proper technique starts with proper cookware and for proper mac and cheese, we’re going to need the right casserole dish.
Why?
Mac and cheese is a casserole, meaning it’s baked and served in the same dish, a casserole dish, a wide, flat dish capable of withstanding the high heat of an oven.
When purchasing I would recommend you keep the following in mind:
– Metal is a great conductor of heat meaning if you use a metal baking pan you are going to cook the food on the edges and bottom before it gets into the center.
-Square or rectangle-shaped cookware cause “dry corners” the pieces in the corners which have been cooking in higher temperatures thanks to the design of the dish, sucking out the moisture at a much more rapid rate than the center.
– Pyrosil ceramics or pyrex glass will cause even heat distribution.
– Round or oblong-shaped cookware ensures even cooking temperature throughout.
– Don’t get a dish too tall, casseroles wider than taller.
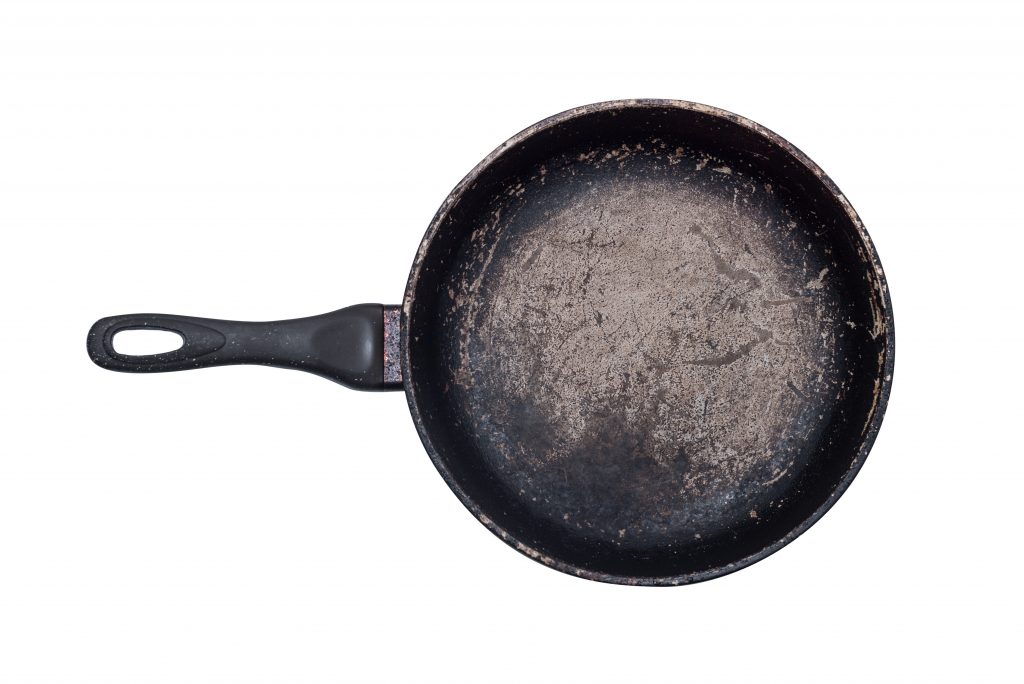
Stainless Steel Pan Versus Nonstick
We need the right stovetop cookware as well.
Something with even heat distribution, ease of use and it doesn’t hurt if it’s durable.
– Stainless steel is capable of going into the oven and breaks down at a slower rate than nonstick and allows for high heat cooking similar to cast iron.
– Nonstick is cheaper, less reliable and made of Teflon. Despite the material being strong enough to stop a bullet, it is incapable of standing up to heavy use in the kitchen.
*Scratch the Teflon off a nonstick pan and you’ve ruined it forever.
The same applies to your pots and whisk as well.
– A stainless steel saucepan will help distribute the heat and can handle much more than sauces; a good stainless steel pot can be used for soups, stocks, baked goods, and even deep-frying.
– Wire metal whisk works better than silicone, straight up, they’re nice and trendy and no substitute for the original.

