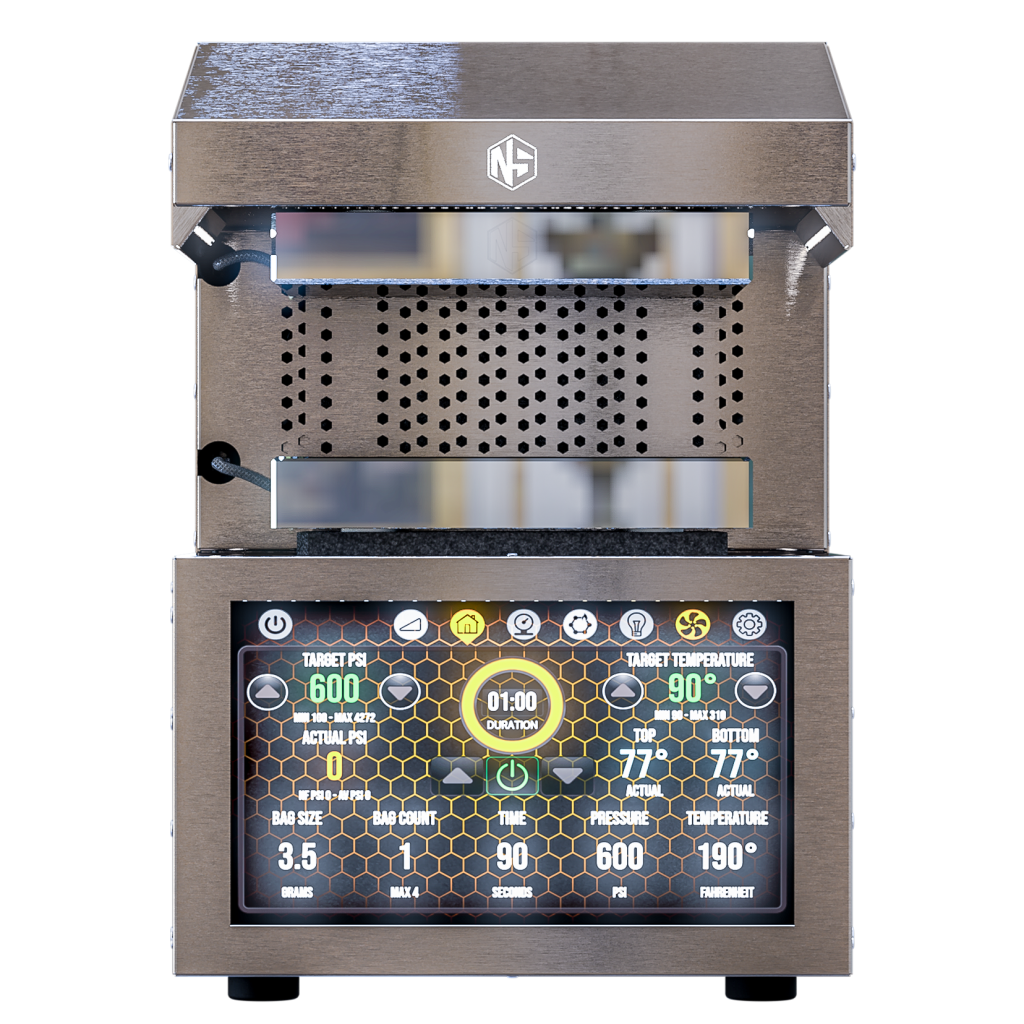
NugSmasher Mini: Getting Started with Extracting
The NugSmasher Mini is an excellent tool for anyone interested in extracting cannabis at home. This powerful device can quickly and easily turn flower into high-quality solventless extracts, making it an ideal choice for anyone who wants to make their own rosin. In this article, we will show you how to get started with the NugSmasher Mini, so you can start making your own extracts today.
Step 1: Turn on the NugSmasher Mini
Before you turn on the NugSmasher Mini, make sure that both plates are together on the machine. To do this, pump the machine up and put the plates together. Once the plates are together, flip the on switch on the back of the machine. The temperature control will show you what the temperature is set for. A general starting temperature is 207 degrees Fahrenheit, but you can adjust the temperature based on your preference. The owner’s manual provides a temperature range to start with, usually around 215 degrees Fahrenheit, and work your way down until you find the ideal temperature that gives you the desired return.
Step 2: Choose the Right Bag Size
When selecting a bag size, choose a bag that fits the amount of material you are working with. For example, a three and a half gram bag is perfect for three and a half grams of material, while a seven gram bag is ideal for seven grams of material. Once you have selected your bag size, you can decide what micron bag to use. The fresher the material, the larger micron bag you can use. We recommend starting with a 120-micron bag.
Step 3: Invert the Bag
To ensure that you get the maximum yield out of your material, invert the bottom corners of the bag to extract Bottle Tech Style. This will allow the extraction to come down in a cylindrical shape and round, holding your surface area giving you the most rosin possible.
Step 4: Load the NugSmasher Mini
Place your material into the bag, making sure not to overfill the bag. You can use a scoop or scale to measure out the right amount of material. Once you have loaded the material, place the bag between the plates with the top of the bag folded like a present and press the plates together . Make sure you keep consistent pressure on your press as material dispurses from your bag.
Step 5: Collect the Rosin
After pressing for the desired time (around 90 to 120 seconds is a good starting point), release the plates and remove the bag. Open the bag and collect the rosin. Use a dab tool or scraper to collect the rosin from the bag. You can store your rosin in a non-stick container or parchment paper.
Conclusion
Extracting with the NugSmasher Mini is easy and fun. By following these simple steps, you can make high-quality rosin from the comfort of your own home. Remember to experiment with different temperatures and bag sizes to find the combination that works best for you. With a little practice, you will be able to produce excellent rosin that is free of solvents and other harmful chemicals.

