What is THCA Isolate?
If you’ve stumbled upon this article, chances are you’re interested in making your own THCA Isolate. And we’re going to show you how!
For those uncertain of what THCA is, let’s take this moment to discuss just that. THCA (“A” meaning “Acid”) is the non-psychoactive compound found in cannabis – Not to be confused with THC. When heated, THCA is converted into THC which is the psychoactive compound that actually gets you high.
If you didn’t know, a common percentage of THCA found in your cannabis buds is about 10-20%. However, if you isolate that THCA using a heat press, you can create solventless THCA that has above 90%!
This THCA isolate carries many beneficial properties if unactivated including anti-inflammation, migraine relief and lower seizure frequency. If activated, using heat, THCA isolate can be one of the most potent highs you have ever experienced.
Unfortunately, most of the THCA Isolate that is currently on the market is actually made using closed loop systems and other solvent-based methods which degrade the product through the use of harmful chemicals. Fortunately, the method we’re about to show you is 100% solventless and can be done easily, in the comfort of your own home.
Required Tools Include
– Heat Press
– Cannabis Buds
– Micron Bag
– 20-37 Micron Screen
– Parchment Paper
Let’s Get Started!

Step 1: Weigh Your Flower
Time to get started preparing your THCA isolate!
We begin by scaling some cannabis flower to be formed into solventless rosin. Remember that the more cannabis you start with, the more THCA isolate you will end up with at the end of the process.

Step 2: Pack Your Bag
Let’s pack that micron bag!
Before you throw those flowers into the heat press, make sure you are packing a bag bottle-tech style to ensure you get the most out of your rosin extraction. Choose micron size depending on the consistency of your cannabis. A lower micron such as a 37-micron bag will be used for dry buds while a higher micron such as 190-micron will be used for wet buds. We use a 3-14 Gram 160 Micron NugSmasher® X Bag.

Step 3: Press Rosin
Press that rosin!
Place your micron bag in between a piece of parchment paper inside a heat press to extract some solventless rosin. We use Kirkland brand parchment paper and our brand new, fully-automatic NugSmasher® X.
*Important
Make sure you allow your rosin to budder up for a few days. We put our rosin to the side for 3 days before moving on to the next step. The most common mistake made when making THCA isolate is not allowing your rosin to achieve a proper, white chocolate consistency.

Step 4: Measure Rosin
Let’s take those measurements.
Next, you’re going to measure the size of rosin so that you can adequately add your correct-sized screen and parchment paper.

Step 5: Wrap Rosin In Micron Screen
Wrap your rosin.
When wrapping your rosin, use a 20-37 micron screen 3x the size of your original measurements. For ours, we used a 20 micron screen that was measured at 3 inches by 6 inches.

Step 6: Wrap Screen In Parchment
Put a diaper on your rosin.
Next, you’re going to want to wrap your screen in a piece of parchment(commonly referred to as the diaper) that is 4x the size of your original rosin measurements. In our case, this parchment was measured at 4 inches by 8 inches.

Step 7: Place Everything Into Second Parchment
Add more parchment.
Next you’re going to place everything you have folded into an extra piece of parchment paper that will catch any excess runoff of terpenes and sauce.

Step 8: Set Pressure On Heat Press
Set your pressure!
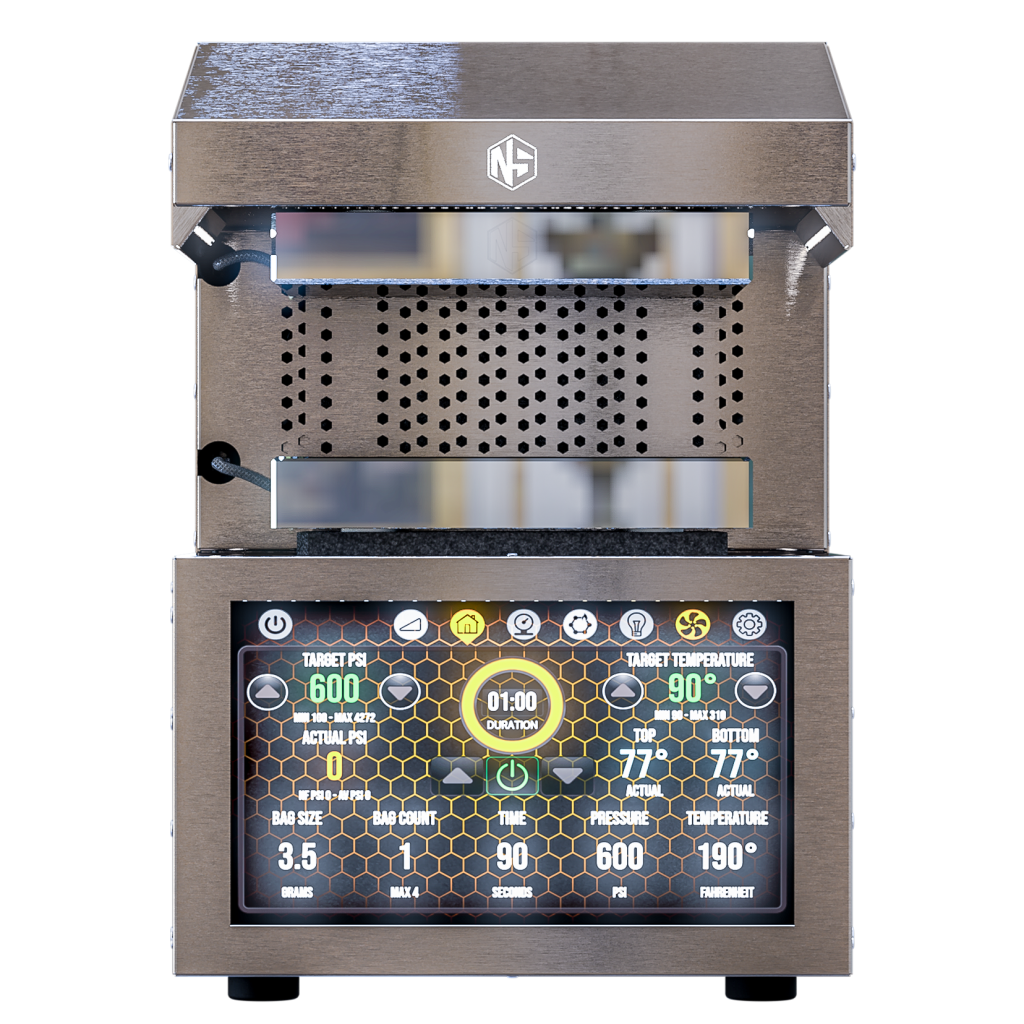
This part is important because you don’t want to over or under-pressurize during your isolation. We use the NugSmasher® Touch because of the advanced touchscreen digital interface which allows us to set custom temperatures, pressure and timers – We set ours to 250 Material PSI. Your heat press may not have a pressure control, so be very attentive during the isolation. You can add more pressure at your own discretion.

Step 9: Set Temperature On Heat Press
Set your temperature!
Next, it’s time to set your starting temperature. It’s very important to start low and slowly work your way up. We begin at 110 degrees for 300 seconds. Remember that the higher temperature you work up to, the more potent the final product will be.

Step 10: Increase Temperature Gradually
Let’s keep going!
During THCA isolation, gradually increase the temperature while applying the same pressure. We increase to 117, 130, 135, 140, 150 and 160 degrees all for 300 seconds each, while maintaining 250 Material PSI.

*Side Note
Remember!
THCA isolate can be made on any good heat press. We chose to use the NugSmasher® Touch because of the touchscreen digital interface which gives users the ability to easily set temperature, pressure and time controls to ensure the best quality isolation.

Step 11: Change Diaper
Time for a diaper change!
After your first few cycles, pull out the product and change your diaper(inner-parchment) to ensure a cleaner end product.

*Side Note:
Don’t throw away!
Remember that all of the excess runoff – terpenes and sauce – can be collected and used.

Step 12: Rewrap The Screen
Wrap it up!
Rewrap your product in a new diaper(inner parchment) and outer parchment paper layer.

Step 12: Further Isolation
Let’s keep going!
Place your newly wrapped product back into the heat press to continue the isolation. We begin at 165 degrees for 300 seconds while maintaining 250 Material PSI.

Step 14: Gradually Increase Temperature
Add some heat!
Gradually increase the temperature for a few more cycles allowing 300 seconds for each one. We move up to 175, 185 and then 190 degrees for 300 seconds each.

Step 15: Remove Product and Replace Screen
Replace your screen.
Next, take out your product and remove the isolate from the parchment, diaper and screen so that it can be replaced.
Important:
Replacing the screen during the isolation is a very delicate process and is not required, however it does make for a cleaner end product.

Step 16: Wrap With New Screen and Parchment
Wrap it up, again!
Rewrap the isolate in a new screen, diaper and parchment with the same measurements as we started with.

Step 17: Further Isolation
Isolate, isolate, isolate!
Place the product back into the heat press to continue isolating. We start with 200 degrees for 300 seconds while maintaining the original 250 Material PSI.

Step 18: Gradually Increase Temperature
Add more heat!
Gradually increase the temperature. We increase to 210 and 220 degrees, each for 300 seconds.

Step 19: Remove Isolate and Unfold
Almost done!
Remove the isolate from the heat press and unfold from screen, diaper and parchment.

Step 20: Collect and Scale THCA Isolate
And, we’re done!
Remove the isolate from the screen and parchment to be collected and scaled.

And You’re Done!
If you’ve finished reading through these steps, you’re 100% ready to get started making your own solventless THCA isolate.
We hope this information proves valuable to anyone interested in isolating their own THCA and wish you good luck!